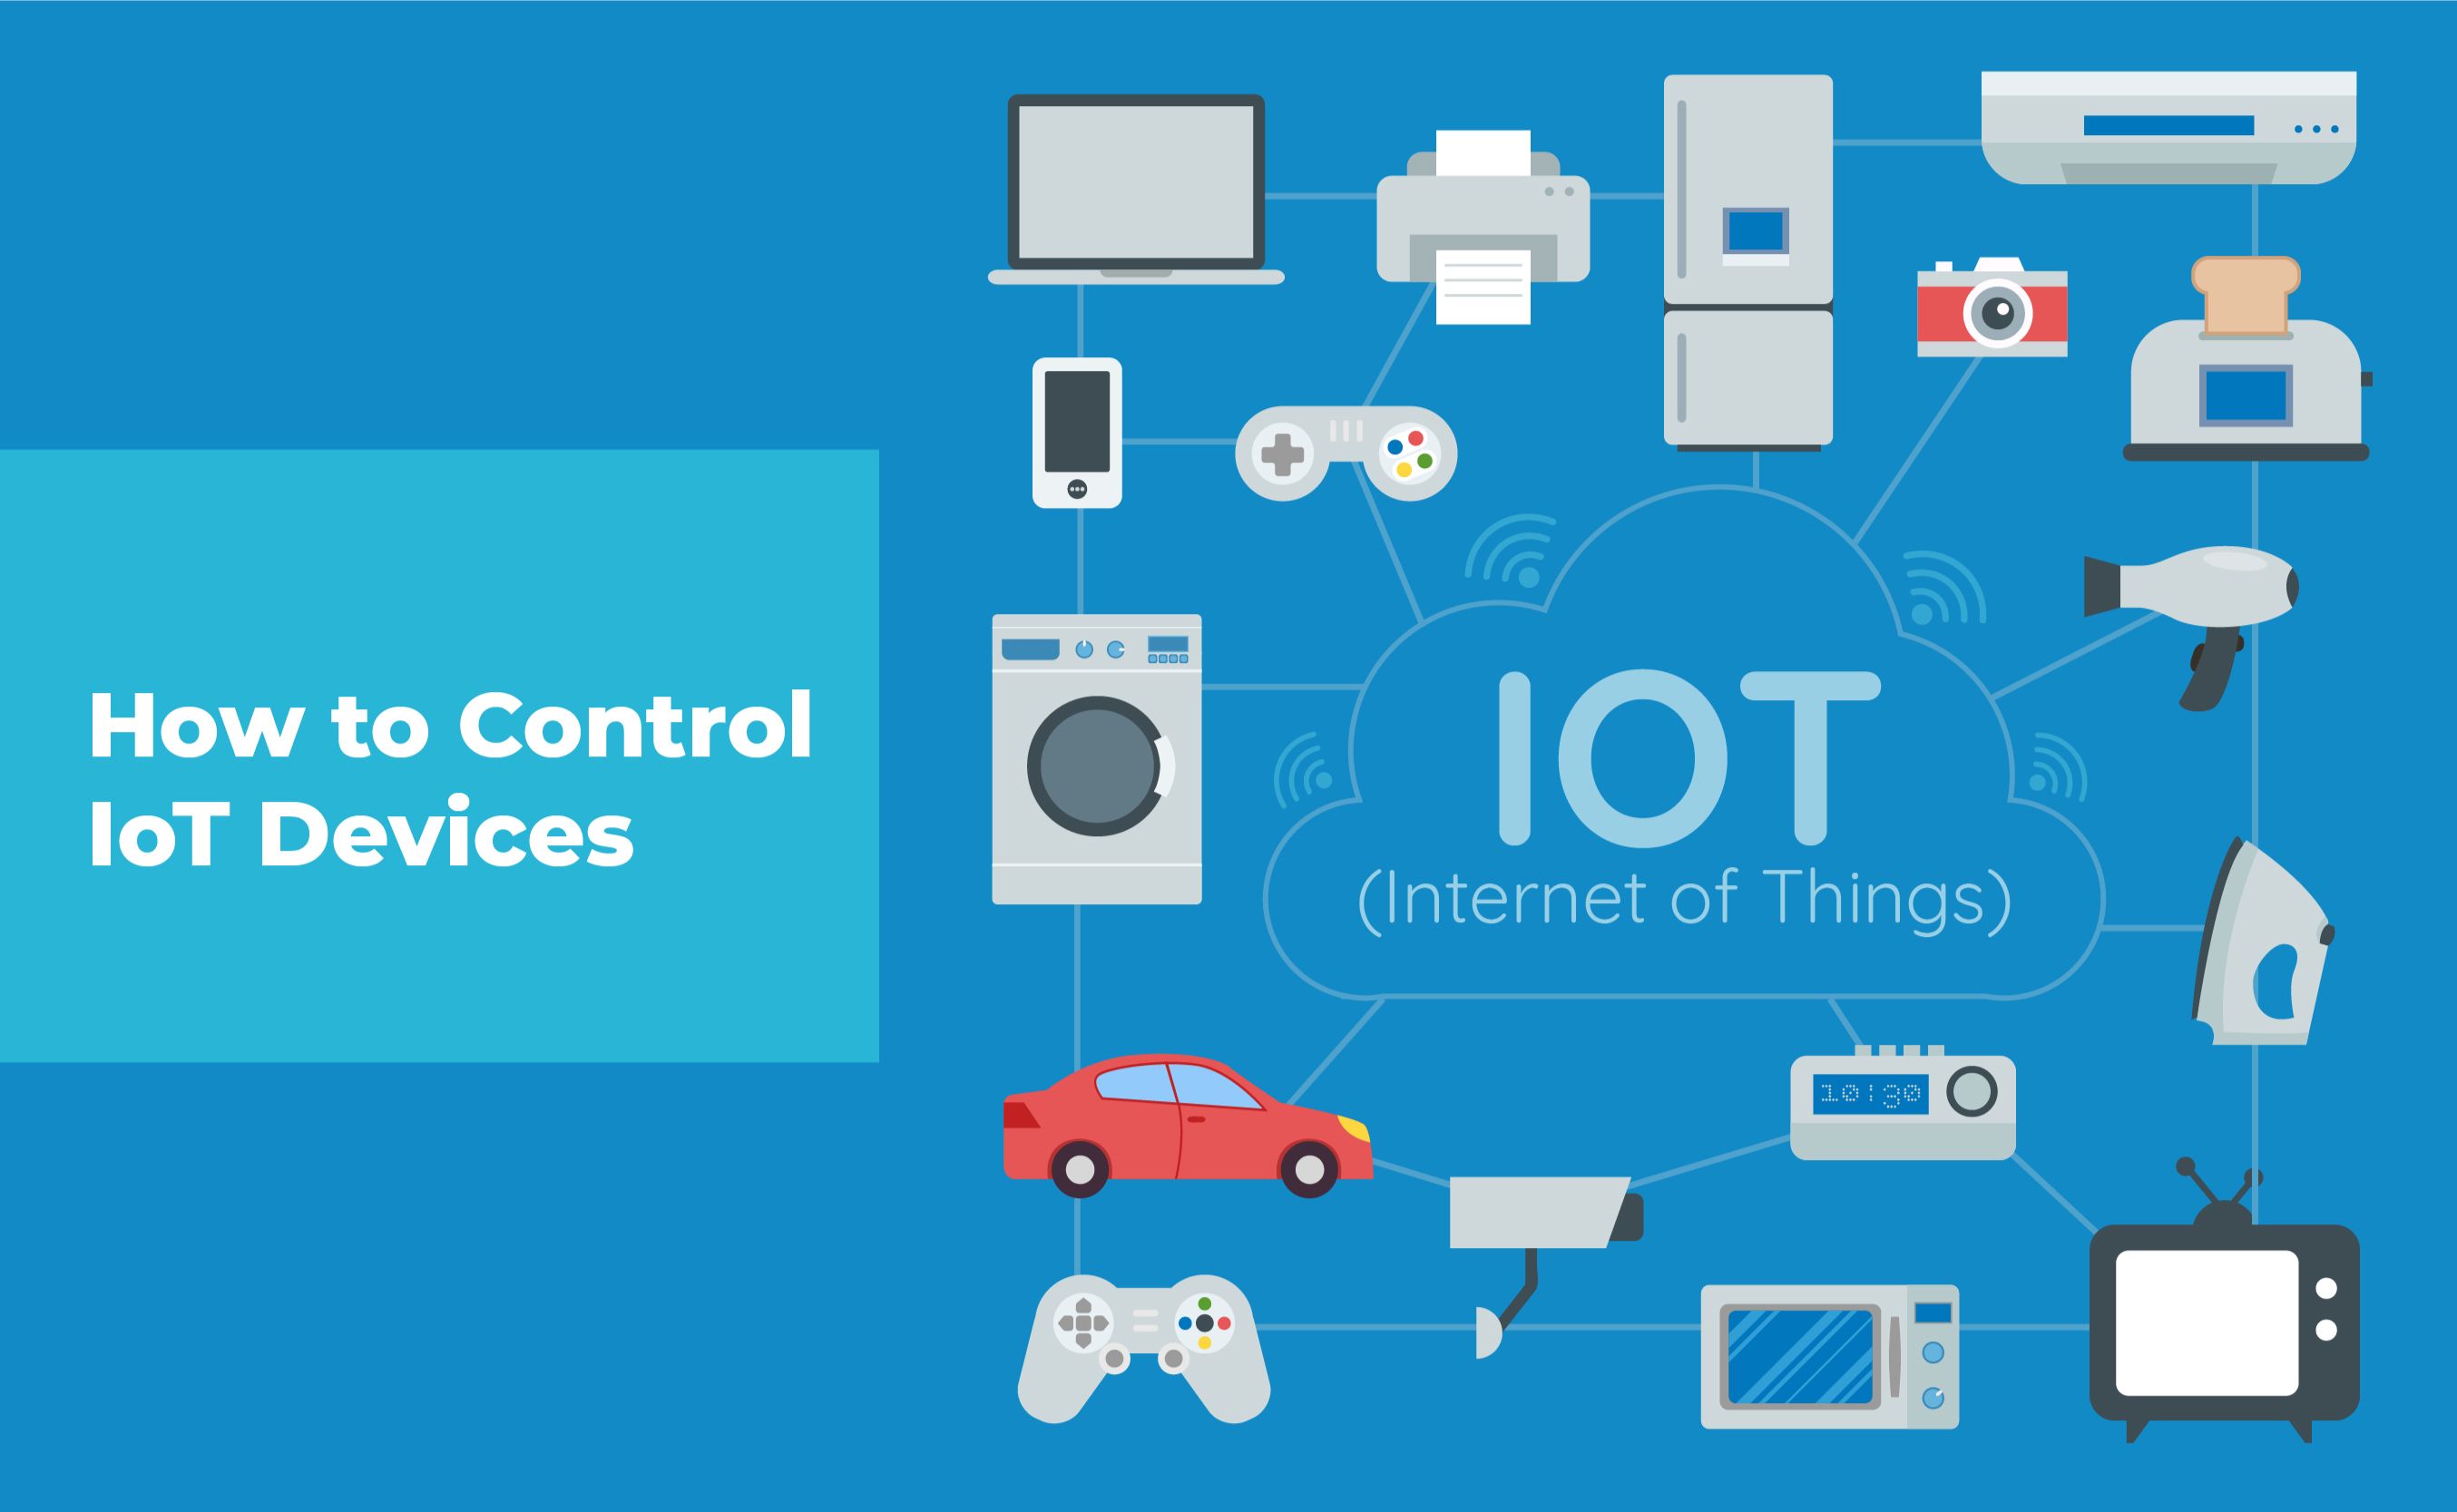
Ever found yourself locked out from managing your IoT devices due to pesky firewalls? Remote access to IoT devices is not just a convenience; it's a cornerstone of efficient IoT management and security. The capability to securely access and control devices, irrespective of their location or network configuration, is paramount in today's interconnected world.
Imagine the frustration of deploying hundreds, if not thousands, of IoT devices only to discover that accessing them remotely is a logistical nightmare. Firewalls, designed to protect these devices, often become formidable barriers. This article delves deep into the strategies and techniques for securely accessing your IoT devices, even when they are hidden behind layers of network security. We'll explore the role of Secure Shell (SSH) and how it facilitates remote access, ensuring both functionality and security.
| Category | Details |
|---|---|
| Concept | Secure Shell (SSH) into IoT Devices |
| Importance | Enables secure remote management and access to IoT devices, ensuring system integrity and security. |
| Challenges | Firewalls blocking inbound traffic, complex network configurations. |
| Solutions | Establishing SSH tunnels, using proxy servers, configuring AWS EC2 instances. |
| Example Scenario | Remotely accessing a Raspberry Pi device behind a firewall using SSH and AWS. |
| Key Steps | Enabling SSH on the IoT device, obtaining the device IP address, setting up a secure tunnel. |
| Additional Technologies | Virtual Network Connection (VNC), Remote Desktop Protocol (RDP). |
| Use Cases | Troubleshooting remote devices, deploying updates, monitoring system performance. |
| Security Considerations | Ensuring strong SSH keys, regularly updating SSH software, monitoring access logs. |
| Further Reading | Amazon Web Services Documentation |
One of the primary hurdles in managing IoT devices is the ubiquitous firewall. While essential for security, firewalls inherently restrict inbound traffic, complicating direct access to devices. Traditional methods often involve deploying technicians to the physical location of the device, a costly and time-consuming endeavor. The modern solution lies in leveraging SSH tunneling techniques to bypass these restrictions securely.
- Bam Margeras Wild Ride From Jackass Star To Recovery Journey
- 2025 Indian Streaming Scene Mustwatch Hindi Web Series
Preparing for SSH Access: Laying the Groundwork
Before even attempting to establish an SSH connection, a few foundational steps are critical. Neglecting these can lead to unnecessary troubleshooting and potential security vulnerabilities. Think of it as prepping a construction site before erecting a building; the groundwork determines the stability and integrity of the entire structure.
First and foremost, ensure that SSH is enabled on your IoT device. Many manufacturers disable SSH by default to minimize the attack surface. Enabling SSH typically involves accessing the device's local interface or connecting via a terminal. Consult the device's documentation for specific instructions, as the process varies between manufacturers and operating systems.
- Toni Kroos The Legend Retirement Footballing Achievements
- 2025s Mustsee Web Series Whats New Amp Next In Streaming
Next, you'll need to identify the IP address of your IoT device. This is the digital address that allows you to locate the device on the network. The method for obtaining the IP address also varies, but common approaches include checking the device's network settings via its local interface or using network scanning tools. Keep this IP address handy, as it's essential for establishing the SSH connection.
SSH Tunneling: Bypassing the Firewall
With SSH enabled and the IP address in hand, the next challenge is navigating the firewall. Since direct SSH sessions are often blocked, the solution lies in creating an SSH tunnel. An SSH tunnel essentially creates a secure, encrypted pathway through the firewall, allowing you to access the device as if you were on the same local network.
The underlying principle is that the IoT device initiates an outbound connection to a server outside the firewall. This outbound connection is typically permitted, as firewalls are more restrictive with inbound traffic. Once the connection is established, it's used to create a secure tunnel back to the device, allowing you to forward SSH traffic.
There are several tools and techniques for creating SSH tunnels. One common approach involves using a reverse SSH tunnel. In this scenario, the IoT device connects to a remote server, creating a tunnel that forwards traffic from the server back to the device's SSH port. This allows you to connect to the server and, through the tunnel, access the IoT device.
Another technique involves using a local proxy server in conjunction with an SSH tunnel. This approach is particularly useful when dealing with complex network configurations or when you need to access multiple devices behind the same firewall. The proxy server acts as an intermediary, forwarding traffic through the SSH tunnel to the appropriate device.
Practical Examples: SSH in Action
Let's delve into a few practical examples to illustrate how SSH can be used to access IoT devices in real-world scenarios. These examples provide concrete steps and commands, enabling you to implement these techniques in your own deployments.
Consider a scenario where you have a Raspberry Pi deployed at a remote site behind a firewall. You need to remotely access the device to troubleshoot an issue. Since direct SSH access is blocked, you can establish a reverse SSH tunnel. First, configure the Raspberry Pi to connect to a remote server with SSH access. The command might look something like this:
ssh -N -R 2222:localhost:22 user@remote_server
This command tells the Raspberry Pi to connect to the 'remote_server' and create a reverse tunnel, forwarding traffic from port 2222 on the server to port 22 (the SSH port) on the Raspberry Pi. Now, on the 'remote_server', you can connect to the Raspberry Pi using:
ssh -p 2222 localhost
This establishes an SSH session to the Raspberry Pi, effectively bypassing the firewall.
Another common scenario involves using Amazon Web Services (AWS) to manage SSH access to IoT devices. AWS provides a robust infrastructure for creating SSH tunnels and managing remote access. For example, you can set up an EC2 instance to act as an SSH server for your IoT devices. The devices connect to the EC2 instance, creating a secure tunnel that you can use to access them.
First, create an EC2 instance and configure it with the necessary security settings. Ensure that the instance allows inbound SSH traffic from your devices. Then, configure your IoT devices to connect to the EC2 instance using SSH. Once the connection is established, you can use the EC2 instance as a gateway to access your devices.
The Role of SocketXP
Tools like SocketXP simplify the process of accessing IoT devices behind firewalls. SocketXP acts as a local proxy server, allowing you to easily connect to your devices without the need for complex configurations. By using the SocketXP agent, you can create a secure tunnel from your laptop to the IoT device, effectively bypassing the firewall.
To use SocketXP, you'll first need to install the SocketXP agent on your IoT device. Once installed, the agent creates an outbound connection to the SocketXP server, establishing a secure tunnel. You can then use the SocketXP local endpoint to access your device's SSH server. For example, the following command tells the SocketXP agent to act like a local proxy server:
socketxp tunnel tcp --port=22
With the tunnel established, you can access your IoT device's SSH server from your laptop using the SocketXP local endpoint:
ssh -p 3000 user@localhost
This command connects to the local proxy port (3000), which forwards traffic through the SocketXP tunnel to your IoT device.
Security Considerations: A Prudent Approach
While SSH tunneling provides a secure means of accessing IoT devices, it's crucial to implement robust security measures to prevent unauthorized access. One of the most important steps is to use strong SSH keys. Avoid using password-based authentication, as it's more vulnerable to brute-force attacks. Instead, generate a strong SSH key pair and use public-key authentication.
Regularly update your SSH software to patch any security vulnerabilities. Outdated software is a prime target for attackers. Implement intrusion detection systems to monitor SSH traffic and detect any suspicious activity. Additionally, monitor SSH access logs to identify any unauthorized access attempts.
Consider implementing two-factor authentication (2FA) for SSH access. 2FA adds an extra layer of security by requiring users to provide two forms of authentication, such as a password and a one-time code generated by a mobile app. This makes it significantly more difficult for attackers to gain unauthorized access.
Expanding the Toolkit: VNC and RDP
While SSH is an invaluable tool for command-line access, there are situations where you need a graphical interface. In these cases, Virtual Network Connection (VNC) and Remote Desktop Protocol (RDP) can be used to remotely access the device's desktop environment.
VNC allows you to remotely control the graphical desktop of an IoT device. It's particularly useful for tasks that require visual interaction, such as configuring software or troubleshooting graphical issues. However, VNC is not as secure as SSH, so it's important to use it in conjunction with an SSH tunnel to encrypt the traffic.
RDP is another remote desktop protocol that's commonly used in Windows environments. It provides a similar functionality to VNC, allowing you to remotely access the desktop environment of a Windows-based IoT device. Like VNC, RDP should be used in conjunction with an SSH tunnel to ensure secure communication.
Troubleshooting and Maintenance: Keeping Things Running Smoothly
Remote access is not just about initial setup; it's also about ongoing maintenance and troubleshooting. The ability to remotely diagnose and resolve issues is crucial for minimizing downtime and ensuring the smooth operation of your IoT devices. SSH provides a powerful toolkit for troubleshooting remote devices.
You can use SSH to monitor system performance, check logs, and run diagnostic commands. For example, you can use the 'top' command to monitor CPU usage, memory usage, and running processes. You can also use the 'df' command to check disk space usage. These commands provide valuable insights into the health and performance of your IoT device.
Remote access also enables you to deploy updates and patches to your IoT devices. This is particularly important for security updates, as outdated software is a major vulnerability. You can use SSH to transfer files to your devices and run update scripts. Automating the update process can significantly reduce the time and effort required to keep your devices up-to-date.
SSH into IoT Device Example with AWS: A Step-by-Step Guide
Let's walk through a detailed example of how you can use SSH to manage an IoT device using AWS. This example focuses on using a Raspberry Pi device and an EC2 instance as the SSH server. This setup allows secure access to the Raspberry Pi from anywhere in the world.
Step 1: Create an EC2 Instance
First, create an EC2 instance in the AWS Management Console. Choose an appropriate Amazon Machine Image (AMI), such as Amazon Linux 2, and select an instance type that meets your needs. Configure the instance with the necessary security settings, ensuring that it allows inbound SSH traffic from your devices.
Step 2: Configure Security Groups
Create a security group that allows inbound SSH traffic from your Raspberry Pi's IP address. This ensures that only your device can connect to the EC2 instance. Additionally, allow outbound traffic from the EC2 instance to the internet to enable it to receive updates and patches.
Step 3: Generate SSH Key Pair
Generate an SSH key pair for accessing the EC2 instance. Download the private key file (.pem) and store it securely. You'll need this key to connect to the EC2 instance from your local machine.
Step 4: Connect to EC2 Instance
Connect to the EC2 instance using the SSH command:
ssh -i "your_private_key.pem" ec2-user@your_ec2_public_ip
Replace "your_private_key.pem" with the path to your private key file and "your_ec2_public_ip" with the public IP address of your EC2 instance.
Step 5: Configure Raspberry Pi
On the Raspberry Pi, configure SSH to connect to the EC2 instance. Use the following command:
ssh -N -R 2222:localhost:22 ec2-user@your_ec2_public_ip
This command creates a reverse SSH tunnel, forwarding traffic from port 2222 on the EC2 instance to port 22 (the SSH port) on the Raspberry Pi.
Step 6: Access Raspberry Pi
On the EC2 instance, connect to the Raspberry Pi using the following command:
ssh -p 2222 localhost
This establishes an SSH session to the Raspberry Pi, allowing you to manage it remotely.
Optimizing Remote Access: Beyond the Basics
Once you've established remote access to your IoT devices, there are several ways to optimize the experience. One approach is to automate common tasks using scripts. For example, you can create a script that automatically updates the software on your devices or restarts them if they become unresponsive.
Another optimization is to use a centralized management platform to monitor and manage all of your IoT devices. These platforms provide a single pane of glass for viewing the status of your devices, deploying updates, and troubleshooting issues. They can also automate many of the tasks associated with remote management, freeing up your time to focus on other priorities.
Embracing the Future: The Evolution of IoT Management
As the Internet of Things continues to evolve, remote access will become even more critical. The increasing number of connected devices and the growing complexity of IoT deployments demand more efficient and secure methods of remote management. SSH, VNC, and RDP will remain essential tools, but new technologies and approaches are emerging.
One promising trend is the use of cloud-based management platforms. These platforms provide a scalable and flexible infrastructure for managing IoT devices. They offer features such as remote provisioning, over-the-air updates, and real-time monitoring. Cloud-based platforms simplify the deployment and management of IoT devices, enabling organizations to focus on their core business.
Another trend is the increasing use of artificial intelligence (AI) and machine learning (ML) in IoT management. AI and ML can be used to automate tasks such as anomaly detection, predictive maintenance, and security threat analysis. These technologies can help organizations to proactively identify and resolve issues, minimizing downtime and improving the overall performance of their IoT deployments.
In conclusion, mastering the art of SSH into IoT devices is paramount for anyone involved in the deployment and management of connected devices. By understanding the challenges, implementing the right techniques, and embracing emerging technologies, you can ensure secure and efficient remote access to your IoT devices, enabling you to unlock their full potential.
- Tony Miranne Joy Manganos Exhusband Net Worth More
- Mustsee Indian Erotic Web Series Your Ultimate Guide