Ever felt powerless being physically detached from your IoT devices? The ability to securely monitor and manage your IoT devices remotely using an IoT remote SSH connection isn't just a convenience; it's a fundamental requirement in today's interconnected world.
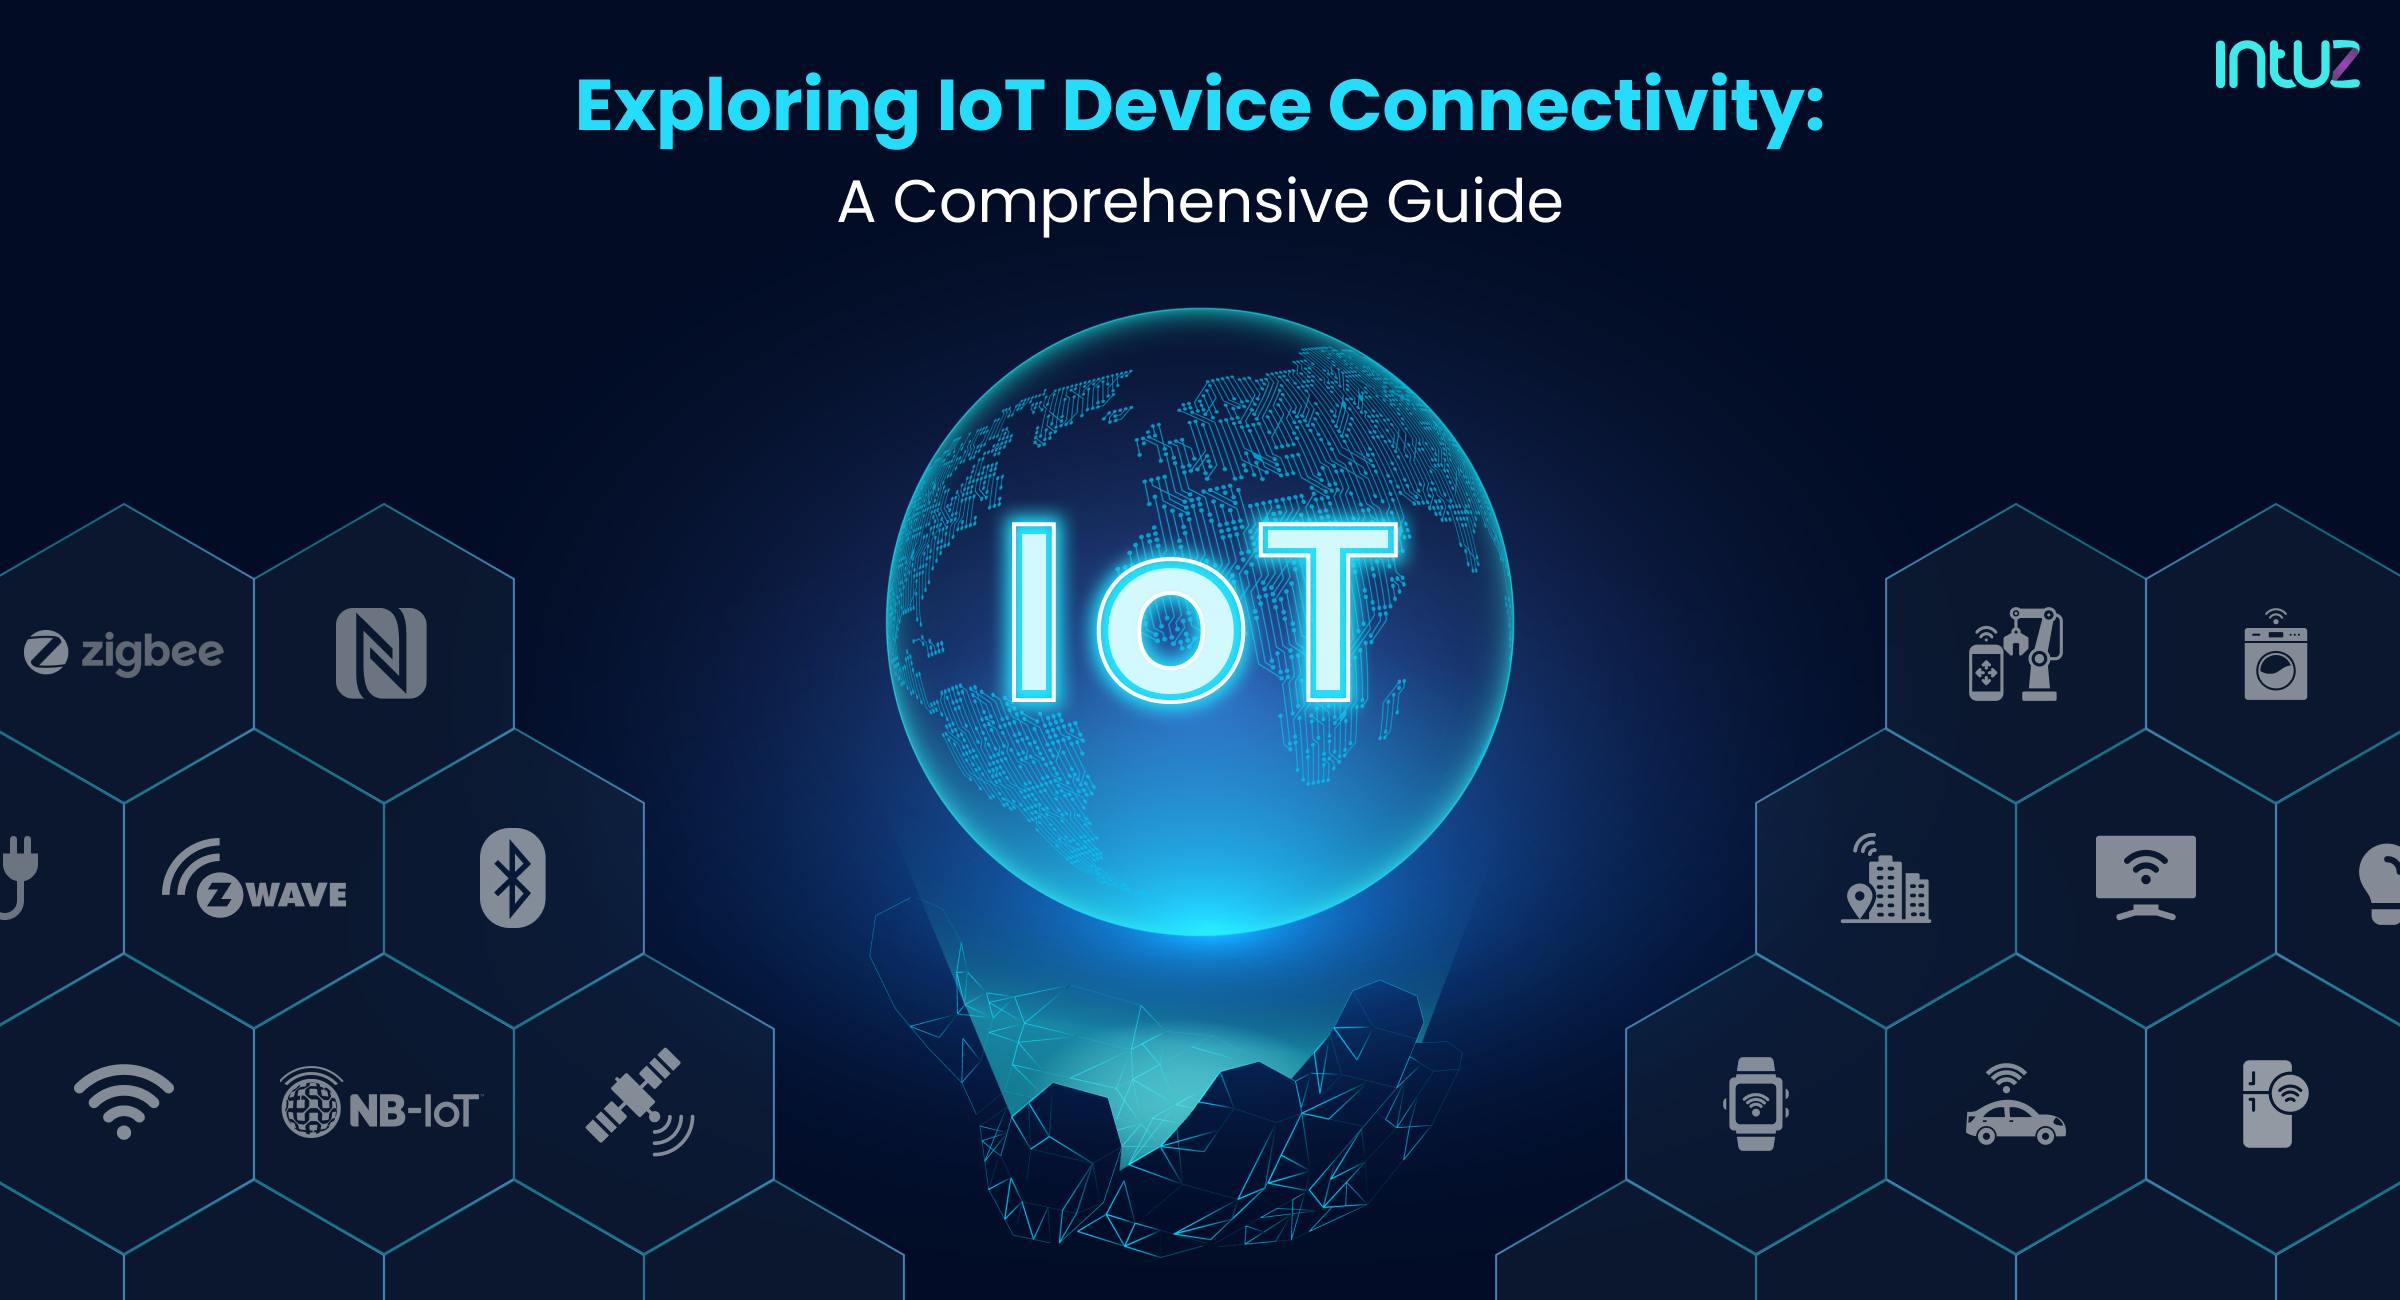
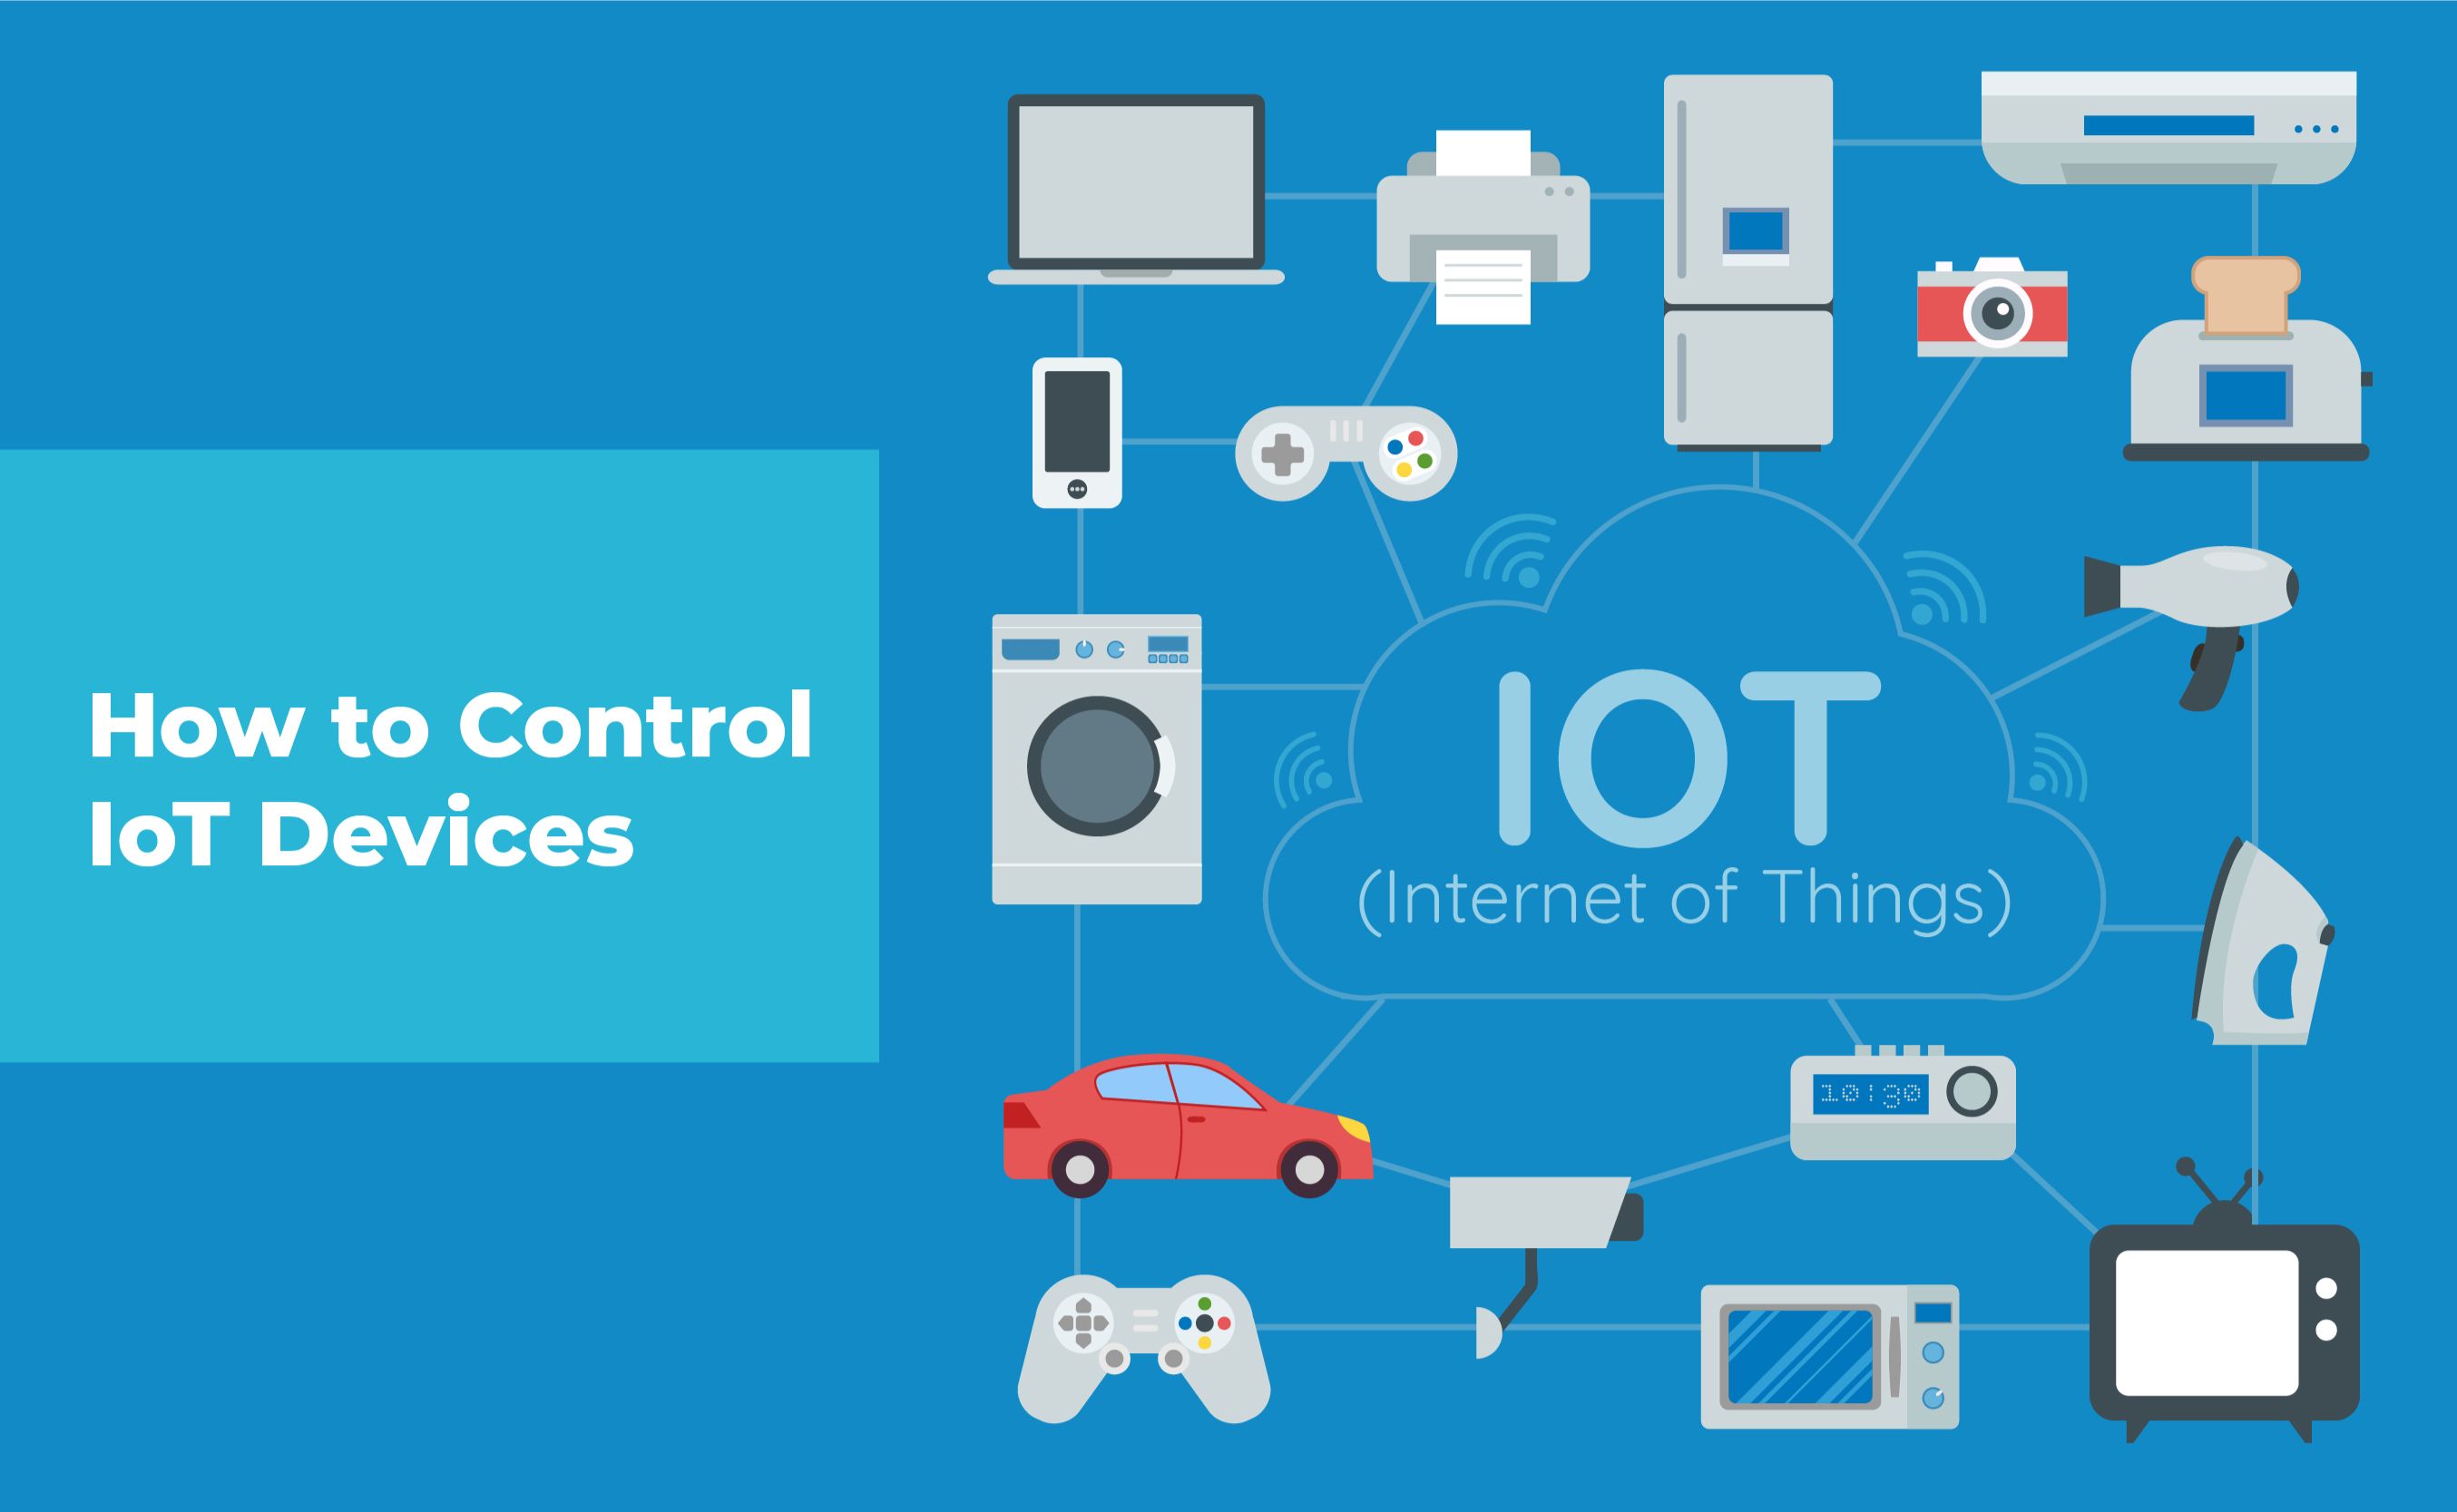
The modern era is defined by ubiquitous connectivity and the proliferation of Internet of Things (IoT) devices. From smart homes to industrial automation systems, IoT devices are transforming the way we live and work. However, this increased connectivity also brings forth new security challenges. Ensuring secure access to and management of these devices is paramount, and that's where the power of SSH comes in.
| Attribute | Value |
|---|---|
| Name | Secure Shell (SSH) |
| Description | A cryptographic network protocol for operating network services securely over an unsecured network. |
| Key Function | Enables secure remote access to computer systems and IoT devices. |
| Security Features | Encryption, strong authentication, and secure tunneling. |
| Common Use Cases | Remote server administration, secure file transfer, and VPN tunneling. |
| IoT Application | Securely manage and monitor IoT devices from a remote location. |
| Alternative Protocols | Telnet (insecure), VNC, RDP |
| Reference | SSH.com |
To effectively manage the IoT landscape, establishing a robust remote access mechanism is essential. Secure Shell (SSH) provides a secure and reliable way to remotely connect to and manage IoT devices. This article delves into the concept of SSH and its significance in the realm of IoT devices, offering a comprehensive guide to setting up and utilizing SSH for secure remote access.
- Toni Kroos The Legend Retirement Footballing Achievements
- New Web Series Movies What To Watch Date Streaming Guide
As organizations increasingly adopt IoT technology, understanding how to establish secure communication channels through SSH has become indispensable. Connecting IoT devices securely is not just a matter of convenience; it is vital for protecting sensitive data and maintaining system integrity. A compromised IoT device can serve as a gateway for malicious actors to infiltrate entire networks, underscoring the need for robust security measures.
When discussing methods to securely connect remote IoT devices, particularly in peer-to-peer (P2P) scenarios, and specifically on Ubuntu systems, it's crucial to understand the multifaceted role of SSH in IoT environments. SSH offers a secure tunnel, encrypting all traffic between the client and the server, thus preventing eavesdropping and tampering. This is especially important in environments where IoT devices are deployed in unsecured or public networks.
So, what exactly are the key benefits of using SSH for IoT device management? Let's enumerate the advantages that SSH provides:
- Bam Margeras Wild Ride From Jackass Star To Recovery Journey
- Tony Miranne Joy Manganos Exhusband Net Worth More
- Encryption: SSH encrypts all data transmitted between the client and the server, protecting sensitive information from eavesdropping.
- Authentication: SSH supports strong authentication mechanisms, such as public key authentication, which eliminates the need to transmit passwords over the network.
- Secure Tunneling: SSH enables secure tunneling, allowing you to forward ports and create secure connections for other applications.
- Remote Access: SSH provides secure remote access to IoT devices, enabling you to manage and monitor them from anywhere in the world.
- Integrity: SSH ensures the integrity of data transmitted between the client and the server, preventing tampering and modification.
With these advantages in mind, let's explore the process of setting up SSH on an IoT device.
Before remotely accessing IoT device examples via SSH, you must ensure that SSH is properly configured on your IoT device. The first step is to access the device's local interface or connect via a terminal. This can be achieved through various means, such as a direct connection via Ethernet or a serial console.
Here's a step-by-step guide to configuring SSH on your IoT device:
- Install OpenSSH: Most Linux-based IoT devices come with OpenSSH pre-installed. If not, you can install it using the device's package manager. For example, on Debian-based systems like Raspberry Pi OS, you can use the following command:
sudo apt-get updatesudo apt-get install openssh-server - Configure SSH Server: The SSH server configuration file is typically located at
/etc/ssh/sshd_config. You can edit this file to customize SSH settings, such as the port number, authentication methods, and allowed users.sudo nano /etc/ssh/sshd_config - Enable SSH: Ensure that the SSH service is enabled and running. You can use the following command to start the SSH service:
sudo systemctl enable sshsudo systemctl start ssh - Firewall Configuration: If your IoT device has a firewall enabled, you need to allow SSH traffic through the firewall. For example, if you are using
ufw, you can use the following command:sudo ufw allow ssh
After configuring the SSH server on your IoT device, the next step is to generate SSH keys on your client machine.
SSH keys provide a more secure and convenient way to authenticate to your IoT device. Instead of typing your password every time you connect, you can use a private key to authenticate automatically.
Here's how to generate SSH keys on your client machine:
- Open a Terminal: Open a terminal or command prompt on your client machine.
- Generate SSH Keys: Use the following command to generate SSH keys:
This command will generate a pair of SSH keys: a private key (ssh-keygen -t rsa -b 4096id_rsa) and a public key (id_rsa.pub). - Enter a Passphrase (Optional): You can optionally enter a passphrase to protect your private key. This passphrase will be required every time you use the private key to authenticate.
Once you have generated SSH keys, you need to copy the public key to your IoT device.
The public key needs to be copied to the ~/.ssh/authorized_keys file on your IoT device. This file contains a list of public keys that are authorized to connect to the device.
Here's how to copy the public key to your IoT device:
- Copy the Public Key: Copy the contents of the
id_rsa.pubfile on your client machine. - Connect to the IoT Device: Connect to the IoT device using SSH with password authentication:
ssh username@device_ip_address - Create the
.sshDirectory (If It Doesn't Exist): If the.sshdirectory doesn't exist in your home directory, create it:mkdir ~/.ssh - Create the
authorized_keysFile: Create or append to the~/.ssh/authorized_keysfile:
Replaceecho "your_public_key" >> ~/.ssh/authorized_keysyour_public_keywith the contents of yourid_rsa.pubfile. - Set Permissions: Set the correct permissions on the
.sshdirectory and theauthorized_keysfile:chmod 700 ~/.sshchmod 600 ~/.ssh/authorized_keys
With the SSH server configured and the public key copied to your IoT device, you can now connect to your IoT device from the SSH client without being prompted for a password.
To connect to your IoT device, use the SSH command followed by the username and IP address of the device. For example, the command ssh user@192.168.1.100 will initiate a connection to the device with the IP address 192.168.1.100.
For beginners, this guide provides a comprehensive overview of setting up a safe and efficient connection to a remote IoT device, including examples tailored for AWS environments, referred to as 'remote IoT SSH AWS example'.
To ensure your devices remain safe while being managed remotely, it's crucial to follow best practices, employ appropriate tools, and implement robust security measures. Consider these points:
- Keep Software Updated: Regularly update the operating system and SSH server software on your IoT device to patch any security vulnerabilities.
- Use Strong Passwords: If you choose to use password authentication, use strong, unique passwords for all user accounts.
- Disable Password Authentication: For enhanced security, disable password authentication and rely solely on SSH key authentication.
- Restrict Access: Limit access to your IoT devices by whitelisting IP addresses. Only allow connections from trusted networks or devices.
- Monitor Logs: Regularly monitor SSH logs for suspicious activity. Look for failed login attempts or unusual connection patterns.
- Use a VPN: Consider using a Virtual Private Network (VPN) to encrypt all traffic between your client machine and your IoT device.
The 'remote IoT SSH example' has become a crucial aspect for maintaining secure connections in IoT devices. As technology evolves, so do the methods for exploiting vulnerabilities. Staying ahead of the curve requires a proactive approach to security, with regular assessments and updates to your security posture.
One approach to secure remote access involves using a VPN or proxy connection, offering an alternative for those not utilizing AWS services. AWS offers a range of IoT offerings, including a device gateway that facilitates communication between devices and AWS services.
After the SSH service is running, you can test the connection from a remote computer. Successful connection verifies that the SSH server is properly configured and accessible.
Unlike some other solutions, platforms like SocketXP do not open device ports to the internet, thus reducing the risk of unauthorized access. SocketXP provides an IoT SSH remote access and device management platform ideal for various applications.
In the context of network proxies, the service proxy acts as a kind of server and waits for a local SSH connection, while the device proxy takes on a client's role by establishing a connection to the SSH daemon on the IoT device. These proxy applications tunnel the traffic between the local instances and the IoT hub streaming endpoint, adding an extra layer of security.
To open an SSH connection to the device, you must first turn on SSH on that device. This often involves accessing the device's settings or using a command-line interface to enable the SSH service.
When configuring endpoints and ports, this component must be able to perform outbound requests to specific endpoints and ports, in addition to the endpoints and ports required for basic operation. This ensures that the SSH connection can be established and maintained.
Remote access in the context of the Internet of Things (IoT) refers to the ability to access and control an IoT device from a remote computer or device. Several techniques can be employed for this purpose, including Secure Shell (SSH), Virtual Network Connection (VNC), and Remote Desktop Protocol (RDP).
As previously mentioned, you might have an IoT device agent running on the remote device that connects to the AWS IoT device gateway and is configured with an MQTT topic subscription. This agent facilitates communication between the device and the AWS cloud.
To ensure a successful connection, first, verify that SSH is enabled on the IoT device. Then, obtain the IoT device IP address, which is necessary to establish the SSH connection. You can typically get the IP address from the device's network settings or by using a network scanning tool.
You can then use this URL (e.g., tljocjkijs.a.pinggy.link) and port (e.g., 40527) to establish an SSH connection to your IoT device. To SSH into your IoT device, use the SSH command along with the public URL and port number obtained in the previous step. Replace "username" with the actual username of your IoT device.
By learning how to access IoT devices remotely with SSH (Secure Shell), you can connect to IoT devices in the workplace and in your home from anywhere, enabling you to monitor, control, and update these devices securely. This guide walks you through how to access IoT devices remotely with SSH on Windows and Mac, setting up a secure connection that meets your specific needs.
- Spicy Indian Web Series Adult Entertainment Whats Hot Now
- Bam Margeras Wild Ride From Jackass Star To Recovery Journey